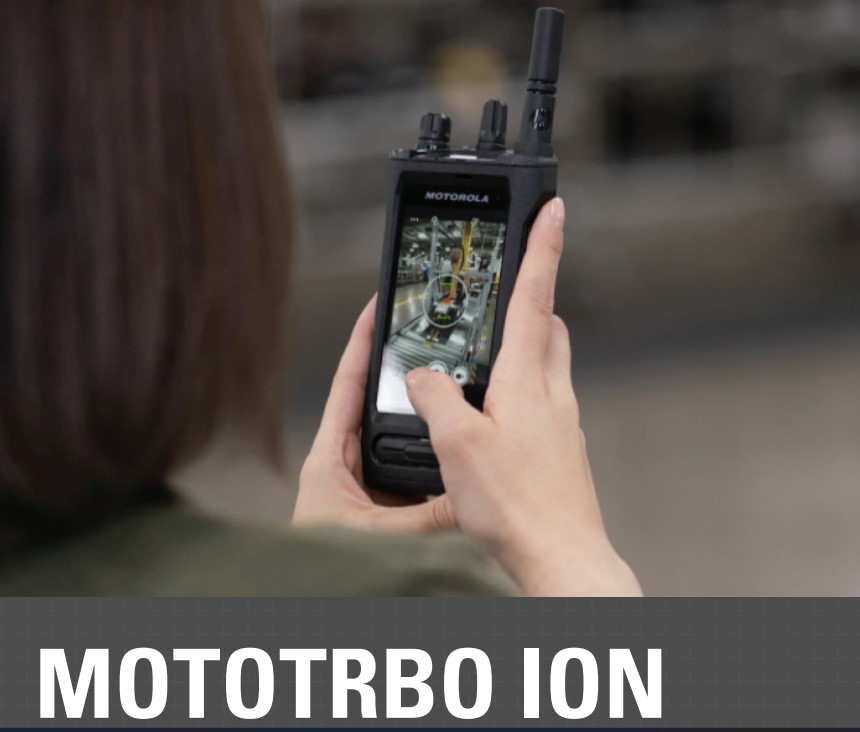
The two-way radio world has become abuzz with news of the Motorola Ion over the past year. As it works well with both narrowband and broadband technology, it has become a popular choice for digital mobile radio users.
As such, you might find yourself working with a MOTOTRBO Ion Smart Radio or its systems moving forward. So, how would you go about using a push-to-talk radio such as one of these and how would you set one up?
The following advice should help you with getting started with one of these devices in an enterprise environment. You can use this as a step-by-step guide to assist with understanding the basics of how to set up a MOTOTRBO Ion Smart Radio.

Radio Setup
One of the first things you might need to do with a new radio is to prepare it for use. The experts are EMCI Wireless can provide full support and an on-site technical specialists to ensure your radios are properly set up. We want to share the step by step tasks as a reference for those radio manager who like to understand the full scope of their new radios and how to perform basic set up tasks.
How to Insert a MicroSD Card or SIM Card
The first thing you should do with your MOTOTRBO Ion is find the battery latch. You can locate this on the back of the device, just underneath the camera and LED. Slide this to the “unlock” position to unlock the battery.
You must then remove the battery from the bottom of the radio to reveal the microSD or SIM card cover and card trays.
Once you have the card tray, place the SIM card or microSD card into the tray. Should there already be one there, you must remove it before inserting your own.
You should then slide the microSD card tray or SIM card back into its slot, before replacing both the card cover and the battery.
How to Attach a Battery
To attach a battery to your MOTOTRBO Ion, first find the battery slot. This exists on the back of the device. You may then place your battery onto this area, ensuring the bottom is in position before pressing the top in until it snaps into place.
How to Attach the Accessory Connector Cover
If you wish to protect the accessory connector to shield your MOTOTRBO Ion from harm, use the attached connector cover. To do this, first find the end of the cover opposite the screw and place its hook into the open slot above the connector.
Then, you should push the top of the cover towards your MOTOTRBO Ion device, this will move it to the correct position. You can then turn the small screw clockwise using a screwdriver to ensure you fasten the cover.
How to Detach the Accessory Connector Cover
If you want to remove the accessory connector for use with the MOTOTRBO Ion, the first thing you should do is rotate the small screw counterclockwise. This will unlock the device from the side of the radio.
You may then pull the cover off with no further issue, although you should be careful not to get the hook near the top caught in its slot.
How to Attach the Antenna
Find the end of the antenna with a screw thread and place it into the screw hole on the top of the MOTOTRBO Ion device. Then, rotate the antenna clockwise when facing its non-screw end until it feels secure.

How to Charge the Device
Before you charge the MOTOTRBO Ion device, you should turn it off and wait for it to fully power down. After this, place the radio into a Motorola-approved charging cradle. You must line up the device so the four metal contacts on the battery touch the contacts in the cradle.
Please note: The charge indicator on the top of the device will not display during charging.
If the charging light on the device starts blinking when you insert it, or at any point during charging, remove the device from the cradle. You may then insert it to attempt charging again.
If you are using a new battery, there will be a period of calibration where no charging occurs but the cradle conditions the battery. This occurs when you first place the device into a Motorola-approved charger for the first time.
When the MOTOTRBO Ion device has finished charging, or you wish to use it early, you can remove the device from the cradle. You only need to lift it up to perform this step. The radio will then take up to around ten seconds to initialize and then update its battery charge level information.
How to Turn the Radio On and Off
Facing the front of the MOTOTRBO Ion device, at the top left is a small knob with a white indicator mark on it. Facing the top of this knob, turn it clockwise until you hear or feel a small click. The device should then start to power up.
If you wish to turn the MOTOTRBO Ion radio off, rotate this small knob in a counterclockwise direction until you hear or feel a similar click. The device will then deactivate.
How to Change the Volume
If you want to increase the MOTOTRBO Ion radio’s volume, find the On/Off/Volume knob. You can find this by facing the front of the device and looking at the top left. There should be a small knob with a white indicator on it.
When looking at the top of this knob, turn it clockwise to increase the volume of the MOTOTRBO Ion radio.
When looking at the top of this knob, turn it counterclockwise to decrease the volume of the MOTOTRBO Ion radio.
Radio Holster
Due to the different designs of holsters, you should look at the holster’s instruction manual to find out how to attach it to your belt. The following will explain how to attach the radio to the holster and detach it again.
How to Attach the Radio to a Holster
First, turn the MOTOTRBO Ion radio so it faces the holster and the antenna points up towards your head. Then, push the bottom of the radio down into the holster’s base, then push the top of the radio into the holster towards your body until you hear or feel a click.
How to Detach the Radio from a Holster
At the top of the holster, on the side of your body, is a small tab. Press this towards your body to release the radio, after which you should be able to lift the MOTOTRBO Ion radio out of the holster.
Touchscreen Controls
Many of the more advanced interactions you will have with this MOTOTRBO Ion radio require you to use a touchscreen interface. To use a touchscreen device, bear the following in mind:
Tap. Touch the screen with your fingers and release right away to tap. You can use this interaction to select onscreen items, type on the onscreen keyboard, or press buttons that appear on the device’s screen.
Tap-and-hold. Touching the screen and not removing your finger will tap-and-hold.
You can use this tap-and-hold function in an empty area of your home screen to open a menu. This menu contains the device’s settings as well as the ability to change the background and widget options of the device.
Swipe. By tapping, holding, and moving your finger across the screen, you can swipe.
This function allows you to perform tasks such as unlocking the screen when it locks. You can also use it to see more home screens or more information in specific applications.
Double-tap. Tap twice quickly on a specific location onscreen if you are on a website or map to zoom in. Tap twice quickly again to zoom out if you are at the closest zoom level.
Some other applications have this zoom capability, although it is not available on the home screen.
Pinch. You can place two fingers on the screen and move them closer to each other, or further apart. Moving them closer zooms out in an application with this functionality, while moving them further zooms in.
Radio Use
There are several methods by which you can use the radio for contacting and hearing others. These are through notifications you might receive, or by joining a channel.
Selecting a Channel
On your home screen, swipe left and right until you find the “Radio Control Widget”. Tap this to open it and it should present you with a list of available channels and zones. You can then select one of these by tapping on it to join the channel.
You can also tap on the “Recent” button in the Radio Control Widget to find recently-joined channels.
Alternatively, if you need to look through a long list of available channels, you can tap on “More” in the Radio Control Widget. You can then tap on the icon for “Channel Search” or “Ch Search”, then type in the channel’s name to search for them. When the searched-for list appears, tap it to join your preferred channel.
Finally, if you look at the device from the front and view the top-center of the radio, you will see a long knob. This is the channel selector knob. You can turn this to scroll through the available channels at any time.
Selecting a Zone
On your home screen, swipe left and right until you find the “Radio Control Widget”. Tap this to open it and it should present you with a list of available channels and zones. Tap on your zone, followed by the zone you need and a channel in it to select a different zone.
When you select a different zone, you will automatically be placed in the channel you selected for that zone.
You can also perform the same action as when selecting a channel (above) to select a zone via the “Recent” or “Ch Search” buttons.
Responding to Calls and Transmitting
If you wish to respond to a radio call on the device, press and hold down the Push-To-Talk button. You can find this large button on the left-hand side when facing the front of the device.
If you wish to stop transmitting, release the push-to-talk button. You will only be able to hear incoming transmissions while the push-to-talk button is released.
Should you wish to ignore or deny an incoming call from another source, you may tap on the “Dismiss” button that appears on the screen.
If you want to end a call that has already started, you can instead tap the “End” button.

Good Practice for Transmitting Audio
When you use the radio to transmit audio, you should do so in a way that makes your voice as clear as possible. The radio takes in noise mostly from one direction, as such, try to always speak into the top microphone in your radio.
When using the in-built mic, hold the radio vertically in front of your face between 5-10 centimeters from your mouth. Make sure to also keep the antenna at least 2.5 centimeters from your body to prevent interference.
When speaking, you should make sure the radio is the correct way around. You should not speak to the back of the radio or the bottom of the radio. The radio is not a telephone or cell phone.
When focusing on listening to the radio, do so by moving the speaker closer to your ear. Although again you should not bring it closer than 2.5 centimeters.
Notifications
Should you receive a notification on your MOTOTRBO Ion device, it will appear on the screen. You can swipe down on this panel to expand it and see more details.
To respond to a notification, tap on its message. This will bring you to a screen where you can deal with it. Each different notification type will have a different context and a different menu.
If you want to remove all the notifications from your screen, you can tap on “Clear all”. Please note you cannot bring the messages back if you clear them.
To exit the notification screen, you can swipe up.
More Info on the Motorola Ion
Using the above guide and information, you should have a good level of knowledge related to starting up the MOTOTRBO Ion for the first time and using it. Still, there is so much to learn about the MOTOTRBO Ion, and you or other team might want to know more.
If you want to see more information about the MOTOTRBO Ion or recommend it to your colleagues, we would be happy to provide a free consultation. We are the local experts on the MOTOTRBO Ion device, its accessories, and support. So check out our site now for the latest MOTOTRBO Ion information.